I had built the UAC to replicate the JAG V5 UAC points that i needed, but from CNC cut styrene. It took a few goes to get right. I glued the carrier up with the arms installed without spacers, but due to the amount of slop the first 2 attempts were binned, so i replaced the bearings, and used a nice flange bearing instead.
These are a few pics of my final prototype:


The complete reassembly was a pain. Having to thin the spacers to the right heights, have all elements aligned to be able to do up the all the grub screws, and insert the spacers, and the belts, and the servo, all inserted in the right order, the right way up. So all in, but scratched all over. :( And not clearing nicely, and rather strangely, sitting differently, so a little filling later they were opening and closing pretty well, paint was touched in, and all working well. Good enough for this job. :)


And the Vegas lights should be better concealed on X2 :D

This is probably easier on an Ali frame, but without being able to strip the UAC the install was very tricky and tight. Now it is installed, the Arms open beautifully and the mechanics of the mech are superb.
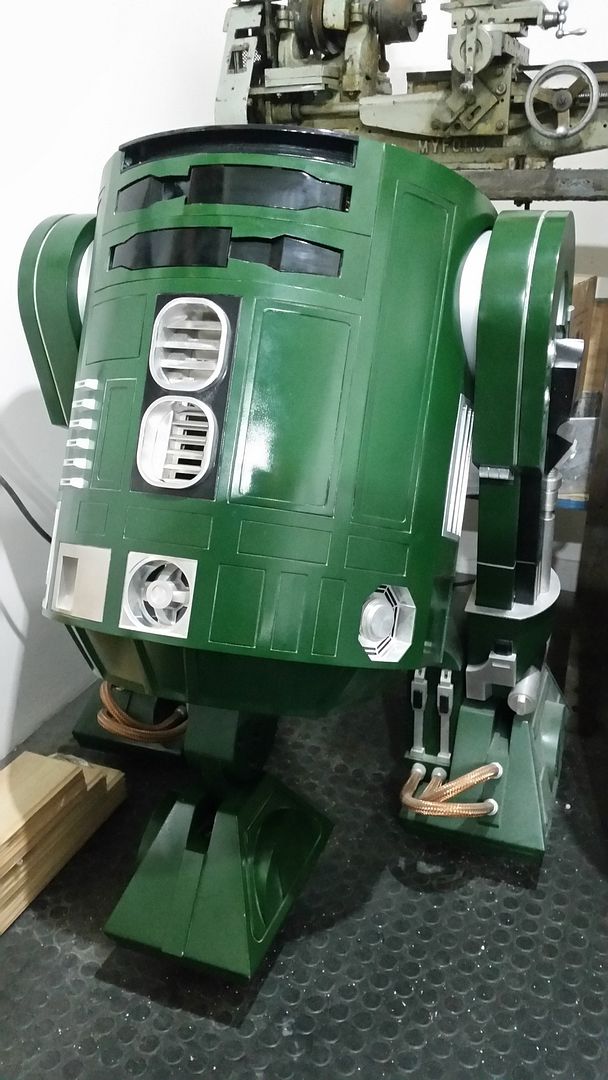
I spotted i had missed the front power coupler. So masked and painted that too. So the whole droid is now externally done. :)
James is working on the dome motor hub for the A&A gear and the pitman i mounted in the top ring. I hope he will update you on that when complete. :)
Not too much more to go. :D
No comments:
Post a Comment